1. Preparations Before Operation
- Check the Equipment: Ensure all components of the excavator (such as oil levels, coolant, hydraulic fluid, etc.) are in normal condition.
- Safety Check: Inspect the surrounding environment to ensure there are no obstacles or safety hazards in the operating area.
- Personal Protection: Wear appropriate personal protective equipment, such as a hard hat, earplugs, gloves, and safety boots.
2. Starting the Excavator
- Enter the Cab: Climb into the cab using the ladder or handrails and sit in the driver’s seat.
- Seatbelt: Fasten the seatbelt.
- Start the Engine:
- Insert the key and turn it to the “start” position.
- Allow the engine to warm up for a few minutes, especially in cold weather.
3. Basic Operation
- 1. Control Levers:
- Left Control Lever: Controls the up and down movement of the boom.
- Right Control Lever: Controls the opening and closing of the bucket and the extension and retraction of the arm.
- Swinging Left and Right: Achieved by simultaneously operating both control levers.
- 2. Driving:
- Use the pedals or control levers to move the excavator forward and backward.
- Be mindful of the driving speed, especially in complex or narrow environments.
4. Excavating
- Position the Excavator: Place the excavator steadily in the digging area, ensuring the tracks or wheels are stable.
- Excavating:
- Extend the boom and position the bucket at the digging point.
- Slowly lower the boom while closing the bucket to scoop soil or material.
- Raise the boom and rotate the cab to move the scooped material to the dumping point.
- Open the bucket to dump the material.
5. Stopping the Operation
- Stop the Engine: Move the excavator to a safe location, lower the bucket to the ground, and turn off the engine.
- Power Off: Remove the key and ensure all power switches are off.
- Exit the Cab: Carefully exit the cab using the ladder or handrails.
6. Daily Maintenance
- Cleaning: Clean the excavator at the end of each day, especially the bucket and tracks.
- Inspection: Regularly check all hydraulic lines, fittings, and electrical systems for leaks, looseness, or damage.
- Maintenance: Perform scheduled maintenance, and timely replace fluids and wear parts.
7. Precautions
- Safety First: Always stay alert during operation and be aware of the surroundings and personnel safety.
- Follow Operating Procedures: Operate according to the manual and manufacturer’s guidelines, and do not overload the equipment.
- Training: Ensure operators are trained and hold valid operating certificates.

Driving an excavator only requires 6 control levers, 2 for the mechanical arm and bucket, 2 for the crawler, one for the bulldozer, and one for the breaker and gripper. When entering the excavator cab, you must first wear a seat belt to prevent the excavator from rolling over and causing injury. Then pull up the safety lever, reduce the throttle to the minimum, and then ignite. After ignition, warm up the engine for about 3 minutes to avoid damaging the engine. The safety lever must be pulled up before ignition, otherwise it cannot be started. Pulling up the safety lever will lock all the movements of the excavator. Be sure to pull up the safety lever while waiting to avoid losses caused by misoperation.
The crawler operating lever of the excavator is located directly in front of the driver’s seat. The left operating lever controls the left crawler, and the right operating lever controls the right crawler. Push the operating lever forward to rotate the crawler forward, and push it backward to rotate backward. The operating levers on the left and right sides of the driver’s seat are the operating levers of the mechanical arm and bucket. The left operating lever controls the forearm forward and backward. Pushing forward will extend the forearm forward, and pushing backward will retract the forearm; the left operating lever controls the rotary motor left and right. Pushing it to the left will turn the fuselage left, and pushing it to the right will turn the fuselage right. The right operating lever controls the arm forward and backward. Pushing forward will lower the arm, and pushing backward will raise the arm; the right operating lever controls the bucket left and right. Pushing it to the left will dig, and pushing it to the right will fall. The operating lever of the bulldozer is usually located on the right side of the driver’s seat. Pushing forward will lower the bulldozer, and pushing it backward will raise the bulldozer. The breaker is usually a foot-operated lever next to the crawler operating lever. Stepping down will make the breaker work, and lifting it up will stop.
The first step in learning to drive an excavator is to be familiar with the functions and uses of each operating lever of the excavator. The most important thing is to enhance the control and feel of each action of the excavator, as well as the coordination of each action. Excavator driving is a craft, and the proficiency is deeply bound to the length of driving time. As long as you drive more, you will become proficient. The mixed movements of the boom, forearm, and bucket must be coordinated naturally, and be as easy to use as your own hands; the excavator is not afraid of the front and back drop, but is most afraid of unevenness on the left and right, because the front and back drop can be assisted by the mechanical arm to pass, while unevenness on the left and right will cause it to overturn. Once the mechanical arm moves, the center of gravity of the excavator will change. The center of gravity of the excavator is closely related to the position of the bucket. When the bucket is extended forward, the center of gravity of the excavator moves forward, and when it is retracted, the center of gravity moves inward. When the bucket is raised, the center of gravity rises, and when the bucket is lowered, the center of gravity moves down.
The excavator needs the mechanical arm to cooperate with the crawler to move uphill and downhill, as well as on uneven road conditions; when going uphill, the bucket needs to be extended as far forward as possible, while hooking the ground, and while controlling the crawler to move forward, the forearm is retracted and the boom is raised. When the excavator moves to the position where the bucket is hooked, it is necessary to release the bucket, hook the ground in front again, and then continue to move forward; if the slope is too steep for the excavator to go up, don’t take risks. When the excavator goes downhill, it needs to use the bucket to support the low place to prevent the excavator from tipping forward. The operation is similar to going uphill, but it does not need to hook the ground, only the back of the bucket needs to be supported.
The cooperation of the mechanical arm is also required when changing the direction of the crawler. First, use the bucket to support the excavator, and only leave part of the two crawlers in contact with the ground. To turn the crawler to the right, you need to turn the steering motor to the left, and at the same time, the right crawler moves backward and the left crawler moves forward (the two crawler operating levers cannot be operated in reverse at the same time, one must be in front and the other backward), and the three actions are completed in coordination; to turn the crawler to the left, you need to turn the steering motor to the right, and at the same time, the right crawler moves forward and the left crawler moves backward; the mechanical arm and the bucket cannot exceed the diagonal of the two crawlers when cooperating in steering, otherwise it will tip over.
Excavators are most afraid of water. If the water level exceeds half of the crawler, they cannot go. It is better not to make money than to take risks with the excavator; at the same time, you must use the bucket teeth to test the soil conditions before moving. The ground that is too thin and too soft can easily make the excavator sink into it, and it is difficult to climb out if it sinks into it. When the excavator is working, the bulldozer can be used to stabilize the body, or the excavator can be moved and the bulldozer can be controlled to push the soil. The bucket is fixed to the forearm with two pins. When replacing the bucket, you need to pull out the two pins, then align the holes of the new bucket or breaker, insert the pins and fix them; usually, the holes on the forearm are inserted first, and then the holes controlled by the forearm cylinder are inserted. If the breaker is replaced, two oil pipes need to be connected. Pay attention to distinguish between the oil pipe and the oil pipe.
If the track falls off, you need to remove the grease screw of the tension wheel first, squeeze the tension wheel, release the grease, then install the track, tighten the grease screw, fill it with grease, and the track is reinstalled. When the excavator is working, be careful not to touch the cylinder and body of the mechanical arm. Excavators above the mini excavator have buttocks. Be careful not to hit the building and people when turning. Pay attention to the right side of the buttocks when the bucket turns left, and pay attention to the left side of the buttocks when the bucket turns right (just opposite to the direction of the bucket). Every day after get off work, you need to grease every movable position of the mechanical arm and rotating motor to reduce the wear of the excavator. When parking the excavator, you need to park it on a flat ground, and there is no risk of falling objects above your head to avoid damaging the excavator. At the same time, the oil cylinder controlling the bucket should be retracted, and the bucket teeth should gently touch the ground to avoid damaging the oil cylinder. Before starting the excavator every morning, you must first check whether the engine oil, coolant and hydraulic oil are sufficient to avoid damaging the excavator.
The risks of driving an excavator are often in movement and work. When working, efficiency must be prioritized. Every bucket must be filled, and every action must have output and meaning. The first step to learn when driving an excavator is to stop. Stopping is more important than action, because stopping can reduce risks. Stopping movement can reduce the risk of damage to the excavator. Stopping the control of the mechanical arm can reduce the risk of injury and damage to property. No accidents are a win. When entering the construction site, the first step is to first evaluate whether the left and right widths and the upper and lower heights are sufficient for the excavator to pass, rotate and lift the arm, and whether there are potential risks such as puddles and steep slopes; after confirming that there is enough space and no risks, the next step is to repair the construction road first to prevent the excavator from tilting and rolling over.
By following these steps, you can operate the excavator safely and effectively.
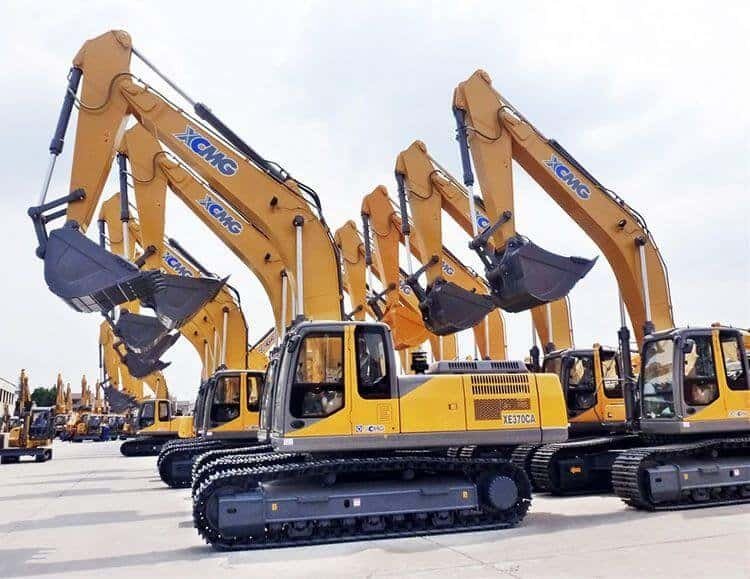
8. Structure of the Excavator
- Cab: This is where the operator sits, equipped with control levers, a seat, seatbelt, and a dashboard for controlling and monitoring the excavator’s operations.
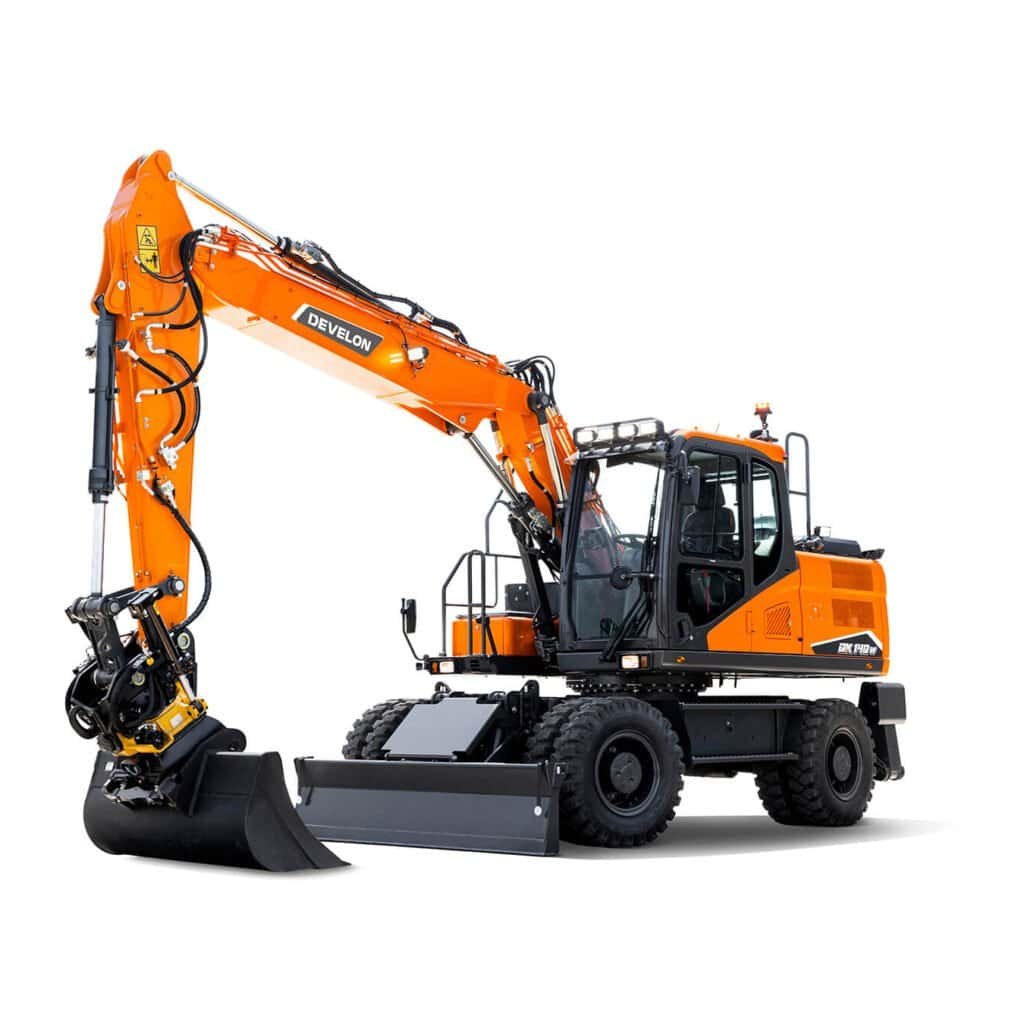
- Boom: The boom is an essential part that connects the cab to the bucket, primarily used for controlling the up and down movement of the bucket.
- Arm: The arm is attached to the end of the boom and is used to extend and retract the bucket, allowing the excavator to reach different digging depths.
- Bucket: The bucket is located at the end of the arm and is used for digging, carrying, and dumping soil or other materials.
- Swing Platform: The swing platform is connected to the undercarriage, enabling the cab and boom to rotate 360 degrees, thus expanding the working range.
- Undercarriage: The undercarriage is the foundation of the excavator, typically equipped with tracks or tires to provide stability and mobility.
- Hydraulic System: The hydraulic system consists of a hydraulic pump, hydraulic cylinders, and hydraulic hoses, providing the power needed for the movement of the boom, arm, and bucket.
- Engine: The engine is the power source of the excavator, usually a diesel engine, supplying the necessary power for operation.
- Counterweight: The counterweight is located at the rear of the excavator to balance the weight of the boom and bucket, ensuring stability during operation.
- Tracks or Tires: Tracks or tires are mounted on the undercarriage to support the excavator and provide mobility across various terrains.
- Control System: The control system includes various levers and switches used to operate different parts and functions of the excavator.
By understanding the structure of the excavator, operators can better master and maintain the equipment, thereby improving work efficiency and safety.
9. Tips for Various Excavator Tasks
- Loading
- Positioning: Place the excavator beside the truck, ensuring you can easily reach every part of the truck.
- Stabilizing: Ensure the excavator’s tracks or tires are stable to prevent shaking during operation.
- Control: Use the boom and arm to dig the bucket into the material pile.
- Lifting: Slowly lift the boom, ensuring the materials in the bucket do not fall out.
- Swinging: Rotate the cab to move the bucket above the truck.
- Dumping: Open the bucket to unload the materials into the truck.
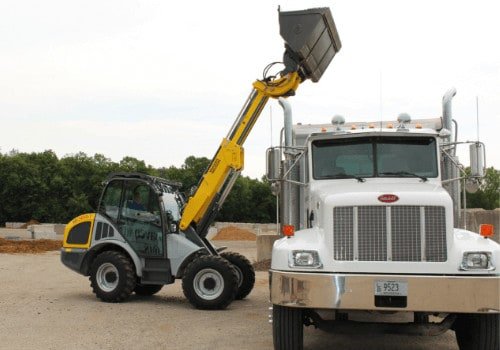
The most important thing for loading is to fill every bucket, otherwise it will be inefficient. Make sure every action is meaningful and productive. Usually, when loading, you need to stand on the material, make the retreat path smooth, and then retreat while loading the vehicle. This is the most efficient way. After filling the bucket, you need to raise the bucket above the height of the vehicle door, then place the bucket inside the vehicle door, and then pour the material. Fill the vehicle until it is almost overflowing, then honk the horn to signal the muck truck to take it away. After the muck truck leaves, you need to take the time to repair the retreat path and collect the material spilled on the ground.
- Spoil Placement
- Choosing a Spot: Select a safe location for spoil placement, ensuring it does not interfere with other work or personnel.
- Smooth Operation: Slowly operate the control levers to prevent excessive soil splatter.
- Even Distribution: Distribute the soil evenly over the designated area to ensure a flat surface.
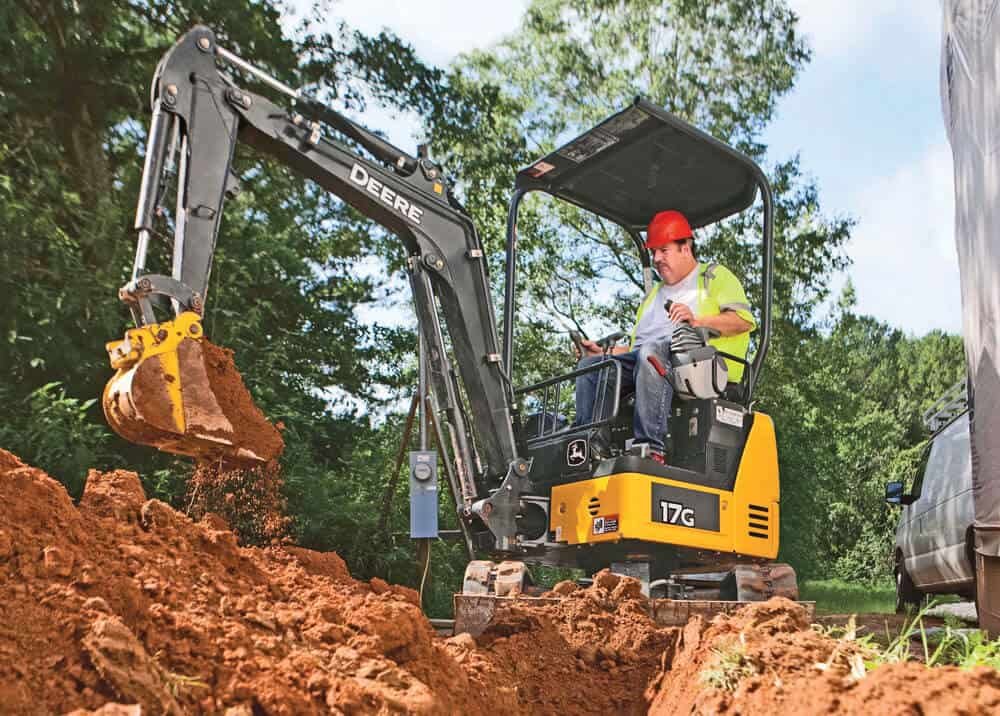
- Trenching
- Planning: Plan the width, depth, and location of the trench before digging.
- Positioning: Place the excavator at one end of the trench.
- Precise Control: Use the boom and arm to slowly dig the soil, maintaining the trench’s shape and dimensions.
- Continuity: Continuously move the excavator to keep the trench consistent and uniform.
The requirements for trenching are that the trench should be straight, the bottom of the trench should be flat, the depth should meet the requirements, and the width should be standard. When digging trenches, lime lines are usually placed on the ground to mark the direction of the trench. Most of the time, the soil from the trench can be directly poured next to the trench for backfilling, but sometimes it needs to be loaded and taken away. What determines whether the trench is dug straight is the movement of the excavator. If the excavator deviates from the lime line when moving, the trench will also be crooked. Therefore, when moving, you need to find a reference on the excavator and move it to the lime line with the reference. When digging trenches, you can use the bucket and the root of the big arm to align with the lime line (two points determine a straight line). As long as the movement and the mechanical arm bucket are aligned with the lime line, the trench will basically not be dug crooked. The depth of the trench is usually informed by the construction worker. You can find a wooden stick as a reference, or you can use the bucket and forearm as a reference. You need to get off the vehicle to measure each section to see if the depth meets the requirements. The width can also be controlled in the same way. When digging trenches, the left and right sides of the excavator must be level, because if the fuselage is tilted, the bucket is also tilted, and the trench dug will be high on one side and low on the other. As long as the depth is well controlled, the bottom of the ditch will basically be flat.
- Leveling
- Positioning: Place the excavator in the area that needs leveling.
- Shallow Digging: Use the bucket for shallow digging to remove surface irregularities.
- Smooth Operation: Slowly move the boom and arm to ensure the ground is leveled.
- Checking: Periodically get out and check the leveling results to ensure the desired flatness.
- Breaking
- Attach the Breaker: Ensure the breaker is securely attached and properly connected to the hydraulic system.
- Positioning: Place the excavator beside the object that needs breaking.
- Adjusting Position: Use the boom and arm to position the breaker at the point of impact.
- Operation: Start the breaker, applying force slowly to ensure stability during the breaking process.
- Safety Check: Continuously monitor the breaker’s condition to prevent accidental damage or failure.
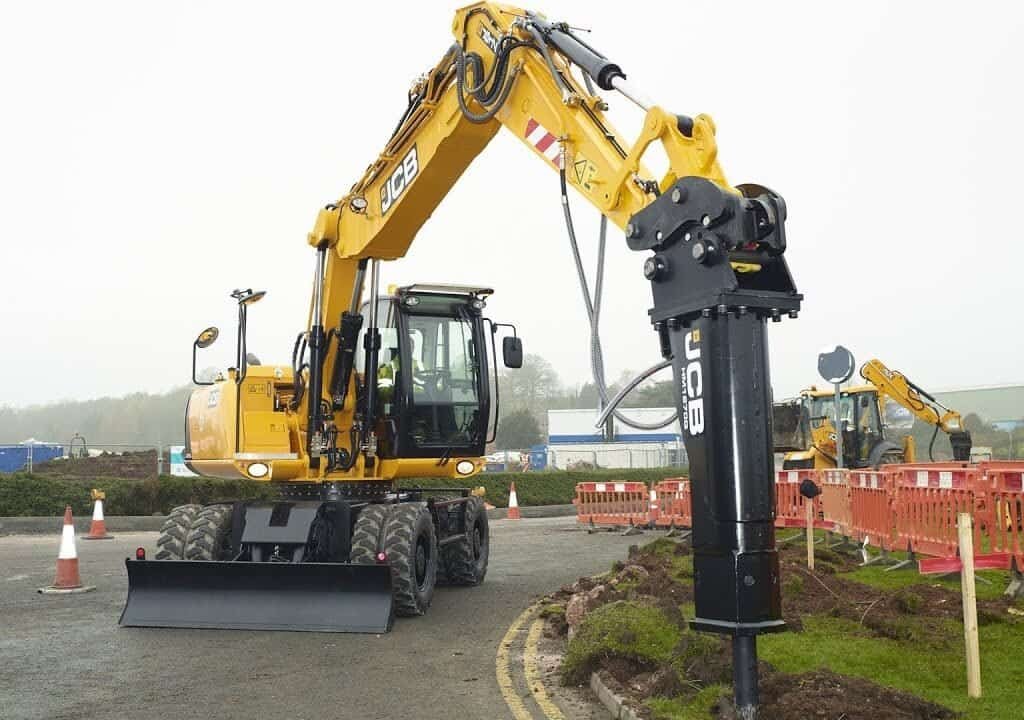
Before crushing, you need to replace the hammer and wear noise-reducing earplugs to protect your hearing. When crushing, the drill rod should be 90 degrees perpendicular to the ground, and the forearm should not be perpendicular to the ground, otherwise the oil cylinder will be damaged. After adjusting the angle of the drill rod, lower the arm to add weight pressure to the crushing head, and then step on the crushing pedal to crush. Do not pry forcefully when pulling out the drill rod, otherwise the drill rod may break. When crushing, the excavator should stand on the broken concrete block to crush the concrete in front. After crushing, retract the forearm, pry the concrete, and then roughly level the concrete block to keep the fuselage stable, and then move the machine position to continue crushing the concrete in front.
By following these techniques, you can efficiently perform various excavator tasks while ensuring safety and precision.
WhatsApp For More Detailed Information +86 19153871620